WELCOME TO WEEK 2: Building Strength and Confidence

You’ve completed the first week of recovery—congratulations! Your dog has started the healing journey, and now we’ll focus on gently encouraging progress. Week 2 is about introducing activities and tools that support healing while ensuring your dog is comfortable and safe.

Let’s dive into this week’s key focus areas.
1. MOIST HEAT: Unlocking Healing Potential

Moist heat is a simple but powerful tool for helping your dog heal and feel better.

  • Why It Works: Moist heat improves blood flow to the surgical area, increasing oxygen and nutrients to the tissues. It also helps soothe discomfort, allowing your dog to relax and recover.
  • How to Apply: Use a warm, damp towel or a specially designed pet heating pad. Always test the temperature on your arm first to ensure it’s not too hot. A warm, gentle heat is best—never risk burns.

Aim for 10-15 minutes of moist heat therapy before exercises or leash walking to optimize your dog’s recovery.

2. PROPER LEASH WALKING: Your #1 Exercise

Leash walking isn’t just a way to get outside—it’s a critical part of your dog’s rehabilitation. Done correctly, it can significantly improve your dog’s recovery.

Important Tips:

  • Ditch the Retractable Leash: A standard leash gives you better control and keeps your dog safe. This is not the time to give them extra freedom to wander or pull.
  • Walk Slowly: The slower you walk, the better. A snail-paced walk allows your dog to put full weight on the surgically repaired leg, building strength and stability. Once they master this, they can graduate to what we lovingly call the turtle-paced walk!
  • Stay Observant: Watch their gait closely. Is your dog bearing weight on the surgical leg? Adjust your pace as needed to encourage proper use of the leg.

Leash walking is the cornerstone of recovery—take it seriously and go slow.

3. PROGRESS TRACKING: Measure to Celebrate Growth

Tracking progress is an essential way to see how far your dog has come and identify areas that need focus.

  • Muscle Mass Measurements: Use a soft tape measure to wrap around your dog’s thigh halfway down the femur. Measure both legs and record the results weekly to compare growth in the surgically repaired leg.
  • Videos Are Your Friend: Weekly videos of your dog walking can help you visualize their progress over time. These videos can also be a helpful reference for your vet or surgeon if needed.

These small steps help you see the big picture of recovery and keep you motivated.

4. The Joint Health Supplement That Makes a Difference

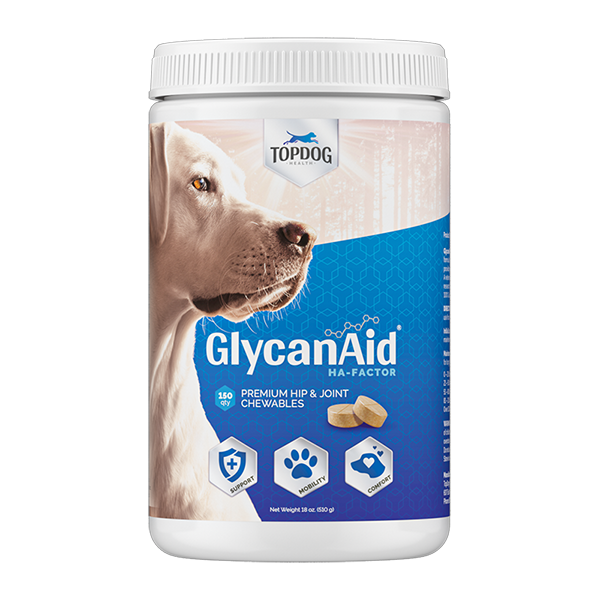
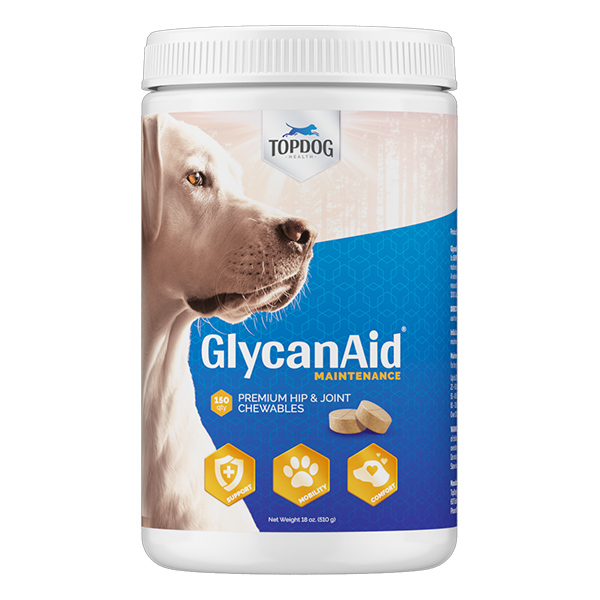
During recovery, your dog’s joints need extra support to rebuild and heal. Our GlycanAid® HA Advanced Formula was specifically developed to meet the needs of recovering dogs.

Why GlycanAid® HA?

  • Includes Glucosamine, Chondroitin, and Hyaluronic Acid to support cartilage repair.
  • Contains natural anti-inflammatories like Cetyl Myristoleate and MSM to reduce pain and swelling.
  • Made in FDA-approved facilities for top-notch quality and safety.

To maximize results, follow the recommended loading dose during the first four weeks. This critical step ensures your dog’s joints get the building blocks they need to heal effectively

You’re Doing Great!

Your dedication is making all the difference for your dog. Remember to:

  • Use moist heat to promote healing and reduce discomfort.
  • Master the snail walk and ensure leash walking is slow and steady.
  • Track progress to celebrate small victories along the way.
  • Provide your dog’s joints with the extra support they need with GlycanAid® HA.

Lean on us and the TopDog Facebook Dog Orthopedic & Joint Health Support Group for advice and encouragement. You’re not just helping your dog recover—you’re setting them up for a stronger, healthier future.

Let’s keep moving forward, one confident step at a time!